+91 –22-23700677 | 9892992233
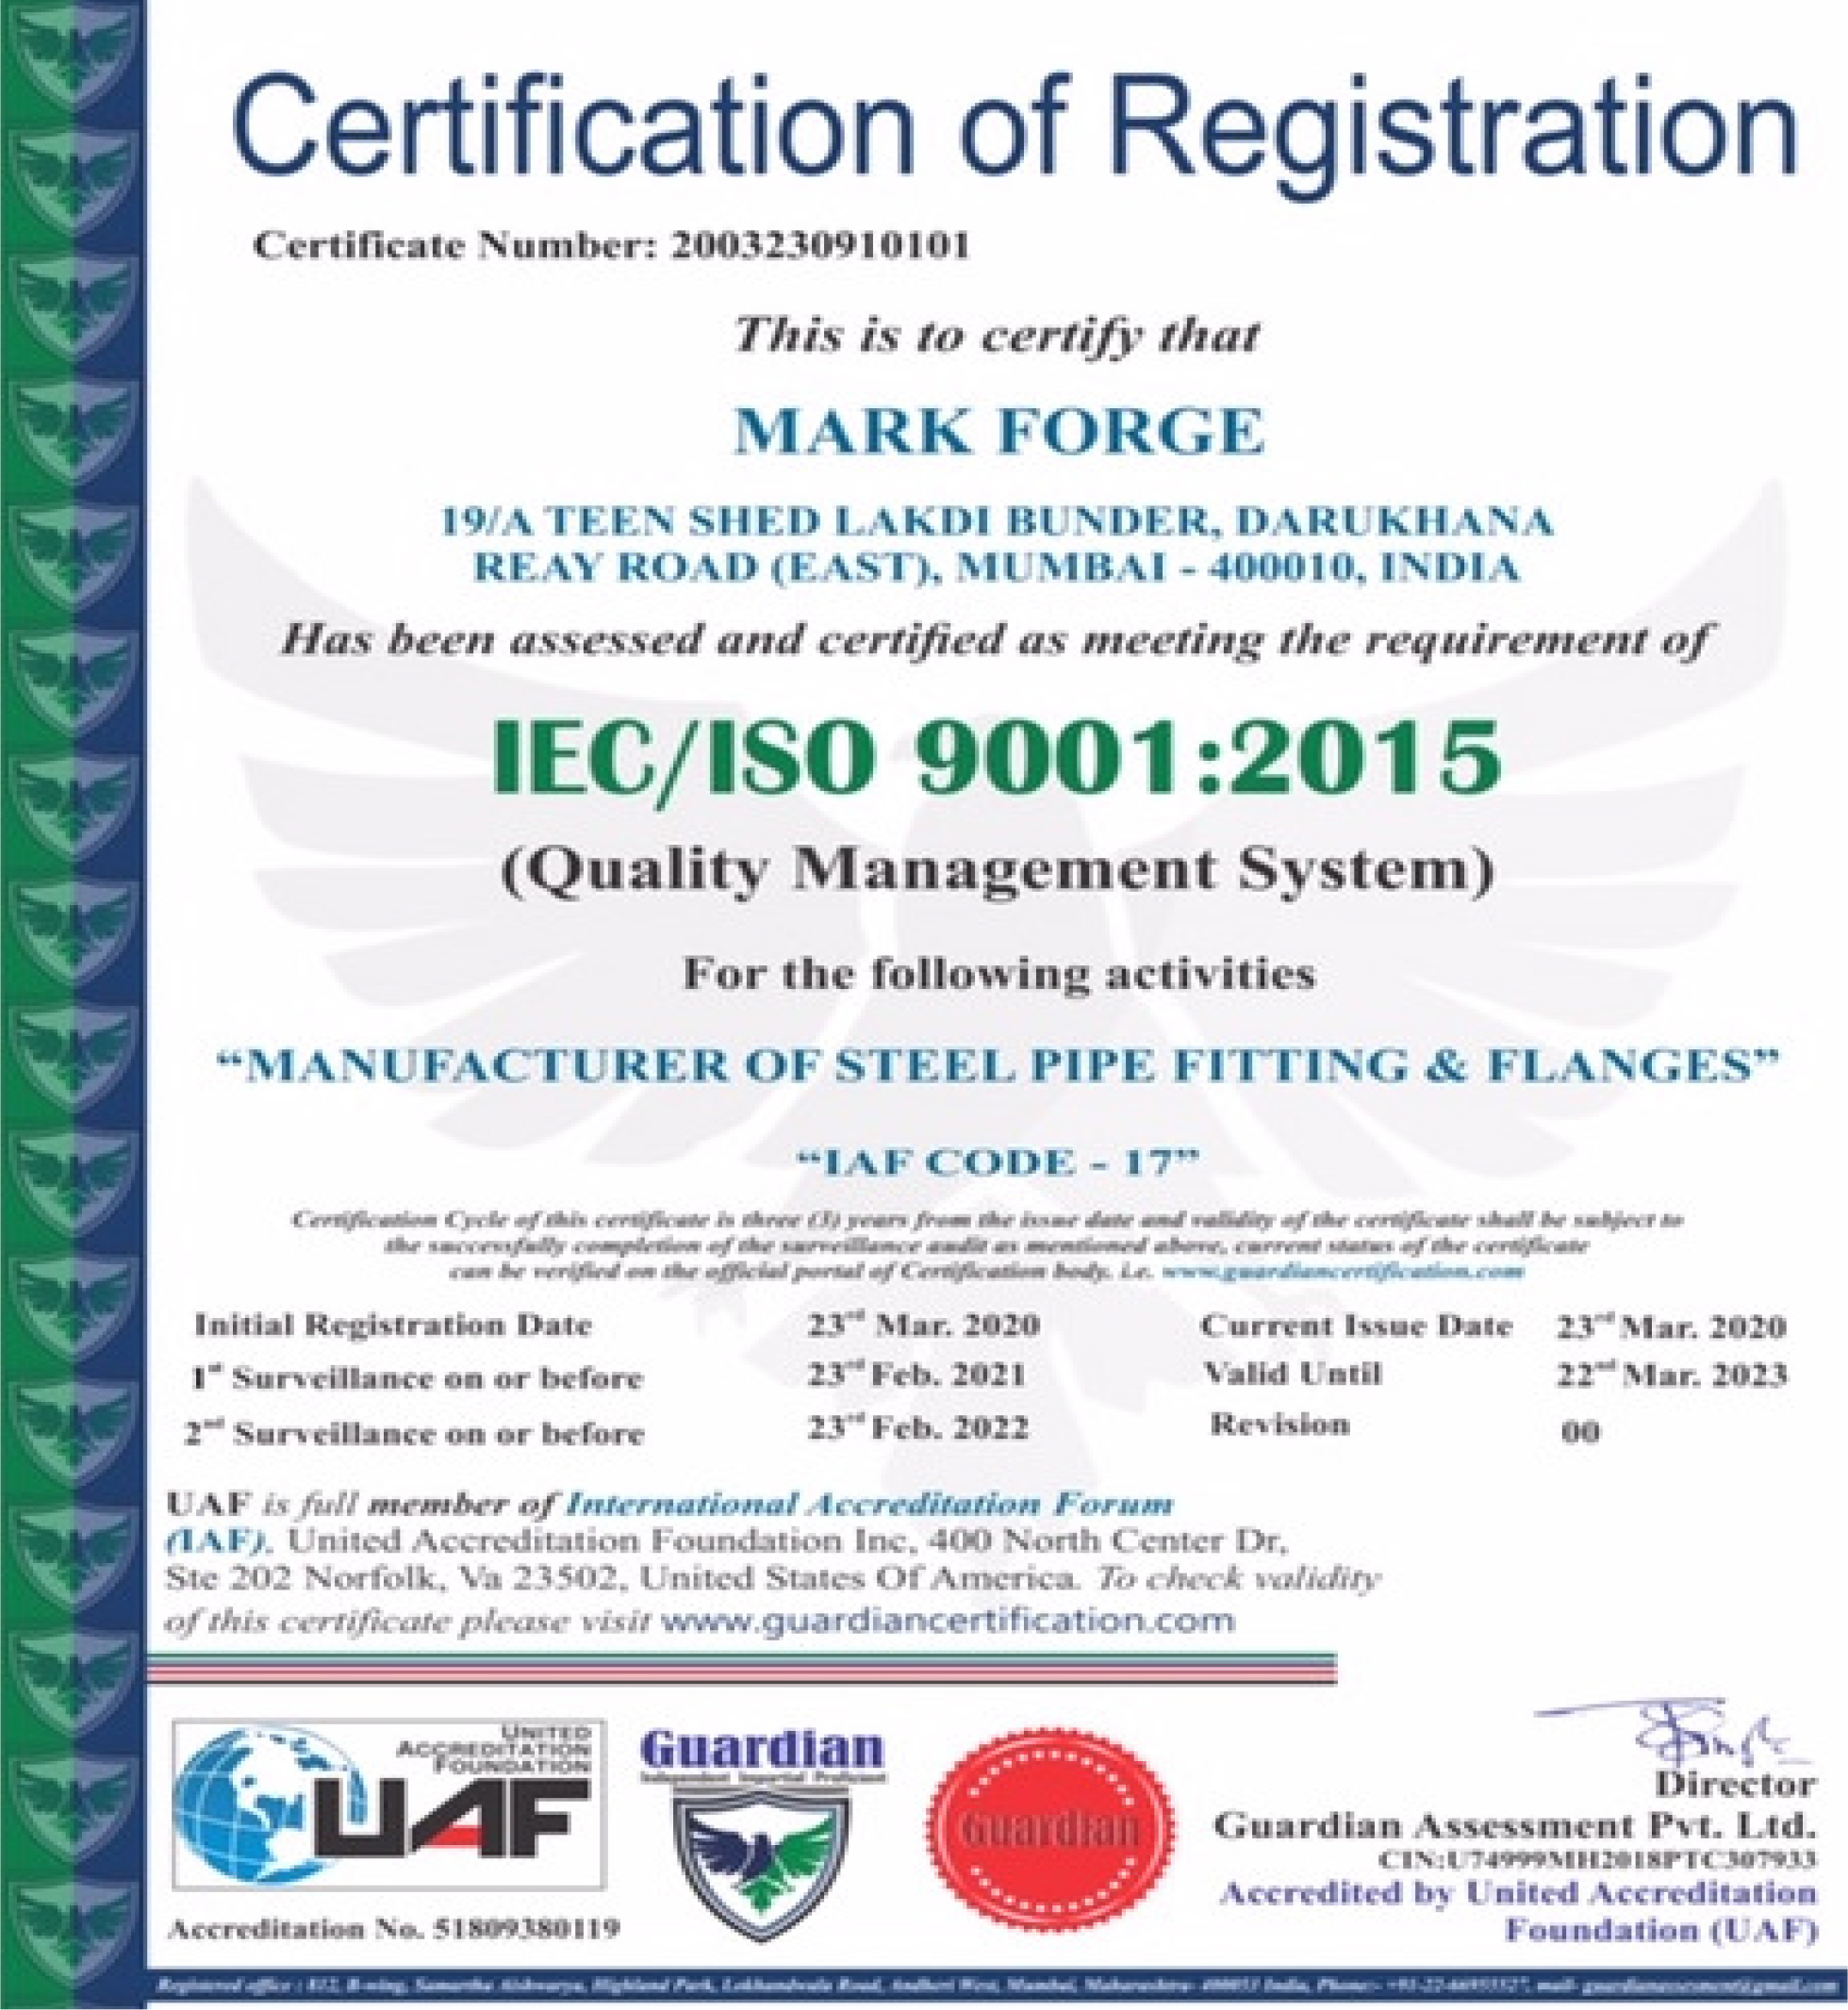
ISO CERTIFICATION

QUALITY ASSURANCE MANUAL
SCOPE
The scope of this Quality Assurance Manual is to manufacture Pipe fittings viz. But welded, Socket welded & threaded series as per various national and international material and dimensional standards. The material used to manufacture this fitting are Carbon steel, Alloy steel, Stainless steel or high Temperature &low temperature services. Quality Assurance Manual comprises of controls & systems to be followed during manufacturing process so that an audit mechanism is introduced during manufacture itself, to produce a product, meeting the requirement of the specification.
ORGANISATION
Quality Control Engineer maintains all the cords assisted by inspection engineer who checks and follows QUALITY ASSURANCE MANUAL at various stage of manufacturing. All chemical and physical testing is conducted at each stage as per applicable code and requirements.
MATERIAL CONTROL SYSTEM
All the raw material purchase is made through genuine source i.e. directly from mill or their authorized dealers. Quality control inspectors carry out all the raw materials’ visual and dimensional checks. The material is correlated with manufacturer’s test certificate for correlation of heat number and markings on raw material.
All chemical checks are carried out on one sample from each heat/lot to verify with applicable codes.
On satisfactory chemical report, a batch number is assigned and punched on each lot.
PROCESSCONTROLSYSTEM
Prior to cutting the material, which may be in form of pipes, plate, rods, forgings, billets etc., the batch number is transferred on every piece, which may be cut from parent material. After forging, each piece is re-stamped if batch number is not visible.
HEAT TREATMENT
Heat treatment is done on all the materials as per requirements of applicable specification. Heat treatment is done on material on the basis of each lot defined as all fittings of the same size, type, & wall thickness manufactured from one heat of material. A test coupon is also heat treated along with the material for each lot/batch.
The heat treatment furnace is fitted with thermocouples & temperature recorder, forge fitting an accurate record of time temperature graph for analysis.
The thermo couples are periodically calibrated by reputed inspection agency/calibration house. A complete record of time temperature graph is maintained in record for reference.
TESTING
Tensile Test
Tensile test is done on a test co upon/on a sample drawn from fittings or starting material in accordance with specifications, as required by purchaser. All testing is done in third party approved labs and physical report of product is incorporated in material certificates issued to the clients.
Hardness Test
Hardness testing is carried out per lot/batch as per sample technique (10% material from each heat treatment batch). An in-house hardness machine is available which is being calibrated periodically by calibration agency.
The results obtained are recorded & used for certification.
Impact Test
Impact test is done on those materials confirming to A420 and A350 as required by the code. Sample from each batch of material are tested for their impact properties at the temperature as specified by the code. The procedure for testing is done as per A370.
Supplementary Test
Any supplementary test in addition to the code is carried out if specified in purchase or derby the purchaser. Such as corrosion test, magnetic particle test and ultrasonic test.
MACHINING AND DIMENSIONAL CONTROL
Machining is carried out as per required dimensional specification. Adequate templates and fixtures are maintained to guide the dimensions required. Accurate measuring instruments used to check various dimension during the machining. GO and NOGO gauges are used to check the ID & OD of fittings. Fittings are then debarred.
Threaded fittings are checked with help of thread gauge.
All templates fixtures and gauges are regularly checked to ascertain that they are dimensional stable.
FINISHING
All fittings are cleaned to remove any surface scale during heat treatment. All stainless steel fittings are pickled and passivated. A proper concentrate of solution is maintained. Fittings are then coated with rust preventive for protection against corrosion.
MARKING
The fittings are inspected for various dimensions & are then stamped for required specification. Heat number/batch number is also stamped again if it is not visible.
CERTIFICATION
The fittings are supplied along with the manufacturer certificate which incorporates following details: a)Material description b)Chemical analysis (heat/product) c)Tensile test d)Hardness Value e)Type of heat treatment f)Dimensional standards g)Material specification h)Impact value for low temperature items
GENERAL NOTE
The quality assurance plan as documented here is an abridged version. The program is pursued to achieve desired quality levels. Detailed document and data maintained can be reviewed by customer engineer on request. This program is upgraded as and when it requires and changed in the technical specification of applicable code.
LIST OF 3RD PARTY INSPECTION AGENCIES
We have supplied material under following inspection agencies.
1. Bureau Veritas
2. Tuv Gl
3. Tuv Nord
4. Indian Register Of Shipping (Irclass)
5. Det Norske Veritas (Dnv)
6. Quest
We can also supply our material under following Inspection.
1. Chempro
2. Bax Council
3. Lloyds Ragister Of Shipping
4. PDIL
Note:- Please note we issue following MTC
1. 3.1 B
2. 3.2 B (Stagewise Inspection by TPI)
